 Gloria Glover
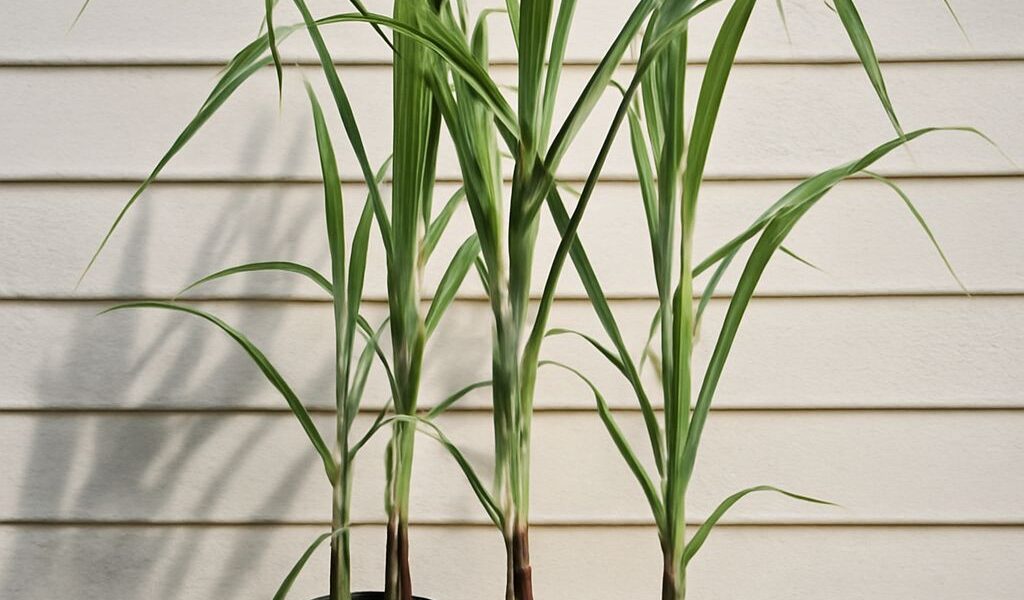
A length of sugarcane laid on its side contains several small buds, each capable of sending a shoot toward the light. Growing cane for sugar in a home garden begins with those living sections and a long, warm season. In a sunny Florida yard or community plot, a short row can be practical; where frost arrives early, the same plant may make leaves without enough time to mature sweet stalks.
Sugarcane is a perennial grass, not a quick vegetable. Give a small planting room, steady moisture, and a plan for winter before committing a whole bed. A few canes for chewing are a more realistic first goal than a household supply of sugar.
Growing sugar cane: choose a warm, sunny site
Full sun and well-drained soil give the crop a useful beginning. Choose a site away from paths: the leaves can have sharp edges, and tall mature stalks may lean. In a shared garden, place the row where its shade will not surprise a neighbor. If several rows are planned, UF/IFAS Gardening Solutions describes spacing them four to ten feet apart; one row is easier to accommodate in a small plot.
The question of how to grow sugar cane starts with climate. UF/IFAS Extension in Santa Rosa County recommends August through November for planting in its Florida Panhandle context, with spring planting after frost as another possibility. Those dates are regional, not a promise of mature cane everywhere. A northern gardener can experiment in a large container and move it into shelter, but a short outdoor summer may produce an ornamental grass rather than harvest-ready stalks.
Space and water are real inputs. A small row leaves more ground for crops suited to local rainfall. Before growing sugar cane in a community bed, decide who will water during dry spells and where the tall foliage will fall in relation to neighboring plots.
Begin with living cane, not a packet of sugar
Gardeners usually propagate named cane varieties from mature stalk sections, often called seed cane. Each section carries buds at the nodes, the joints along a stalk. Choose healthy, viable material from a reputable local source and match the variety to its use: chewing cane has different qualities from cane selected for syrup or sugar production. Seed-cane sections preserve the parent variety’s characteristics.
To understand how to grow sugarcane from a stalk, find the nodes before cutting. The UF/IFAS home-garden guide recommends sections with five or six buds, providing several chances for shoots to emerge. Avoid dry, damaged, or obviously diseased material, and clean cutting tools between sources. LSU’s sugarcane disease laboratory explains that infected planting material and sap on tools can spread disease.
A grocery-store stalk is not automatically suitable for planting: it may be old, dry, treated, or missing usable buds. Ask a local grower or Extension office for viable seed cane.
Set the cane and keep it moist
The following is a home-garden method described by UF/IFAS Extension in Charlotte County, Florida. In a sunny, prepared bed, dig a furrow at least eight inches deep. Its guidance places fertilizer in the furrow, covers that layer with two inches of soil, lays the seed piece lengthwise, and covers it with another three inches of soil. As shoots emerge, fill the furrow gradually until it is slightly mounded. The eight-inch furrow and the three-inch initial cover describe different measurements.
For a small row, use several budded sections laid horizontally, with adjacent pieces overlapping rather than relying on a single bud at each position. Buds alternate along a stalk; the shoots can emerge even when some face downward. Water after planting sugar cane and keep the soil moist, not saturated.
A soil test is a better guide to fertility than adding fertilizer by habit. Follow local Extension recommendations and keep fertilizer separated from the cane. Mulch around established shoots can reduce evaporation and suppress weeds; leave room to observe new growth. Avoid late-season feeding that encourages leafy growth when the plant needs to mature.
Give the stalks time to mature
UF/IFAS Extension in Gulf County estimates roughly 12 to 14 months from seed cane to mature cane in its Panhandle context. A warm spring planting may therefore face its first frost before reaching the same stage. A tall clump alone is not proof that the stalk is sweet and ready.
In a suitable long-season location, allow the stalks to develop through the growing season and harvest mature canes before a killing freeze. Cut close to the ground with clean, sharp loppers or a suitable knife, keeping hands and bystanders clear. Remove the leafy top and use the mature lower stalk for chewing or processing. Taste a test stalk and leave others longer if weather permits.
After the harvest
Growing a small sugarcane crop is an exercise in patience as well as space. Leave the rooted base, or stool, in place after cutting: in a frost-free climate it can send up new shoots as soil warms, producing a following crop called a ratoon. New growth uses the established root system.
In a cold climate, leaves may be killed and a hard freeze can damage the stool. Mulch may offer some protection in marginal conditions, but survival is not assured; a sheltered container or fresh viable planting material may be needed for the next season. Even when the base survives, another short summer may again leave canes too immature for a sweet harvest.