 Gloria Davis
A potato planted in cold, saturated soil may rot before its first shoot reaches the light. The right planting date for potatoes therefore begins beneath the surface: the soil must be workable and warming, not merely free of snow. Growing red-skinned potatoes starts with the same observation, followed by a choice of variety suited to the season ahead.
To decide when to plant potatoes, look at your local frost pattern, the condition of the bed, and the time your chosen variety needs to mature. In many regions planting begins in spring before the last frost, but a calendar date alone cannot tell you whether your particular soil is ready.
Read the Soil and the Season
Potatoes prefer cool growing conditions, yet cold, waterlogged ground slows growth and encourages decay. Use a soil thermometer at planting depth and look for soil that has warmed to around 45°F or above; local extension guidance may recommend a different threshold for your conditions. The Oregon State University guide to Central Oregon gardening emphasizes both soil temperature and local frost conditions when planning a vegetable garden.
Moisture matters just as much. Squeeze a handful of soil: if it holds together and smears instead of crumbling when disturbed, wait for it to dry. Working a wet bed can compact the soil, leaving less room for air and developing tubers. A raised bed may dry sooner than a low spot, but it still needs a temperature and moisture check.
The potato planting season changes with climate. In a short northern growing season, an early or midseason variety can make better use of the available frost-free weeks. In a mild region, local guidance may identify a different window that avoids the hottest part of summer. Count the variety’s expected days to maturity from planting, while allowing for weather and the possibility that the crop grows more slowly than expected.
Emerging leaves can be damaged by frost even when the seed piece below ground survives. If a cold night is forecast after shoots appear, cover them with a suitable row cover or loose protective material and remove it when conditions improve. A hard freeze can cause more serious damage, so avoid planting so early that young growth is repeatedly exposed.
How to Grow Red Potatoes From Healthy Seed
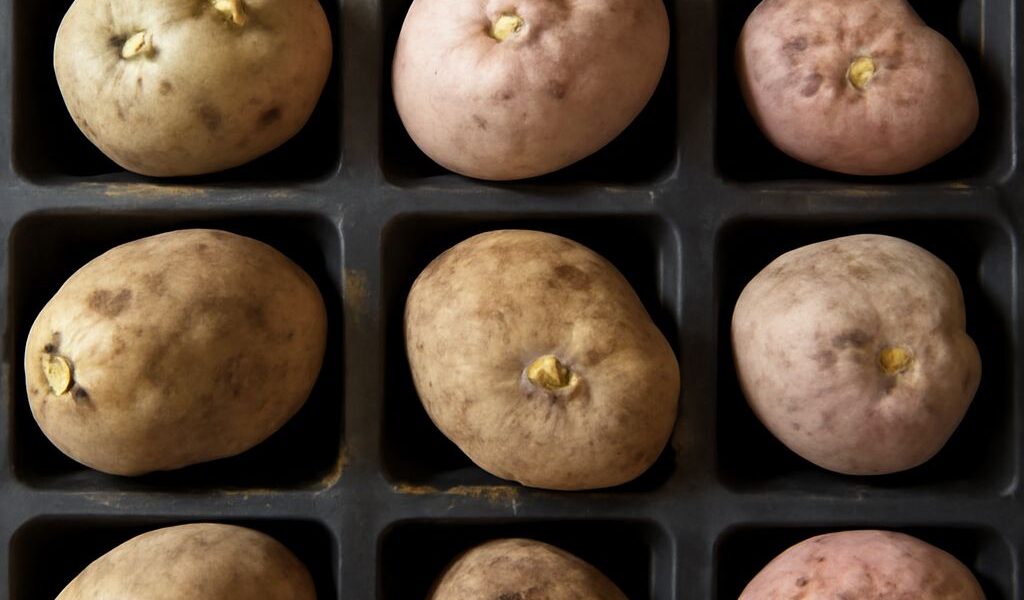
Learning how to grow red potatoes begins with identifying the variety. ‘Red Norland’ and ‘Dark Red Norland’ are examples of named red-skinned potatoes; the color does not make all red potatoes one cultivar or give them identical maturity dates. Penn State Extension lists red-skinned cultivars among its potato choices. To raise red-skinned varieties successfully, compare their maturity and disease information before ordering.
Buy certified seed potatoes from a reputable source. These are tubers grown for planting under a certification program, not true botanical seeds. Grocery potatoes can carry disease or have been treated to discourage sprouting, and saved tubers may also introduce disease. Certification reduces risks but is not a guarantee against every problem.
When considering when to plant seed potatoes, set tubers out only after the soil is ready. Small seed tubers may be planted whole; cut larger ones into pieces with at least one healthy eye each. Let freshly cut surfaces dry and heal in a suitable indoor location for a few days before planting, following the seed supplier’s directions. The University of Minnesota guide describes this protective drying step.
Plant, Hill, and Water
Choose a sunny bed with loose, well-drained soil. Plant seed pieces about 3 to 4 inches deep, with eyes facing upward, and space them roughly 12 inches apart in rows with room for hilling. Follow the variety and supplier’s recommendations if they differ. Label the row with its cultivar and planting date; that record is more reliable than remembering which red tuber went where.
As shoots grow, draw loose soil up around their bases, leaving leaves exposed. Repeat as needed to keep forming tubers covered. Hilling blocks light, which can turn exposed potatoes green. Green or bitter tubers should not be eaten; light exposure can be associated with harmful glycoalkaloids. Work gently so you do not damage stems or developing roots.
Water when rainfall is insufficient, aiming for even moisture rather than alternating drought and saturation. Plants are especially sensitive to dry soil as tubers form and enlarge. Check below the surface before watering: damp soil near the roots may need no more, while a dry bed needs a thorough watering that can soak in without running off. Mulch can help moderate moisture and suppress weeds.
Let the Variety Guide the Harvest
The season for planting potatoes also shapes the harvest. For tender new potatoes, carefully lift a small sample after plants have flowered or when the variety has had enough growing time. Their thin skins bruise easily, so use them soon. Flowering is a useful clue rather than a guarantee of tuber size.
For mature potatoes, generally wait until foliage has yellowed and died back, then dig gently in dry weather. Follow variety guidance and protect the crop from hard frost and persistently wet soil. Keep harvested tubers out of light; cure and store sound, mature potatoes in a dark, cool place suited to storage. Do not store damaged or diseased tubers with the rest.
Before planting, check the bed once more: it should be sunny, loose, well drained, warm enough at planting depth, and moist without being sticky. With sound seed pieces and a plan for late frost, the ground is ready for the next crop.
Sources accessed November 19, 2026.